
Whether you’re juggling deadlines, managing learning disabilities, or just tired of staring at screens, text-to-speech tools can change how you consume information. One of the most popular in this space is Speechify, a smart, user-friendly app that lets you listen to any text in natural-sounding voices—wherever you are.
This detailed tutorial will show you how to use Speechify on all your devices. We’ll walk through setup, voice customization, document imports, syncing, and even some clever hacks to supercharge your productivity. Whether you’re a student, professional, or audiobook lover, this guide is designed to help you unlock Speechify’s full potential.
Why Use a Text-to-Speech Tool Like Speechify?
Before we dive into how to use Speechify, let’s talk about why so many people are turning to tools like this in the first place:
- Increased productivity: Listen to articles or documents while driving, working out, or doing chores.
- Accessibility: Great for users with dyslexia, ADHD, or visual impairments.
- Better comprehension: Listening reinforces memory and focus for some learners.
- Reduced screen time: Give your eyes a break without sacrificing your reading list.
Speechify is designed to be intuitive, and it supports a range of use cases across mobile, desktop, and browser-based platforms.
Step 1: How to Use Speechify to Sign Up and Choose the Right Platform
One of the best things about how to use Speechify is how flexible it is. The app works seamlessly on multiple devices:
Web
- Visit Speechify’s official website
- Click “Start for Free”
- Sign in using Google, Apple, or email
- Set reading preferences and pick your preferred voice
iOS / Android
- Download the Speechify app from the App Store or Google Play
- Open the app and create an account
- Follow onboarding instructions that help personalize your voice, speed, and style
Chrome Extension
- Visit the Chrome Web Store
- Search for “Speechify”
- Add the extension, log in, and start listening to websites instantly
Having Speechify across your devices allows a fluid reading-to-listening experience, no matter where you are.
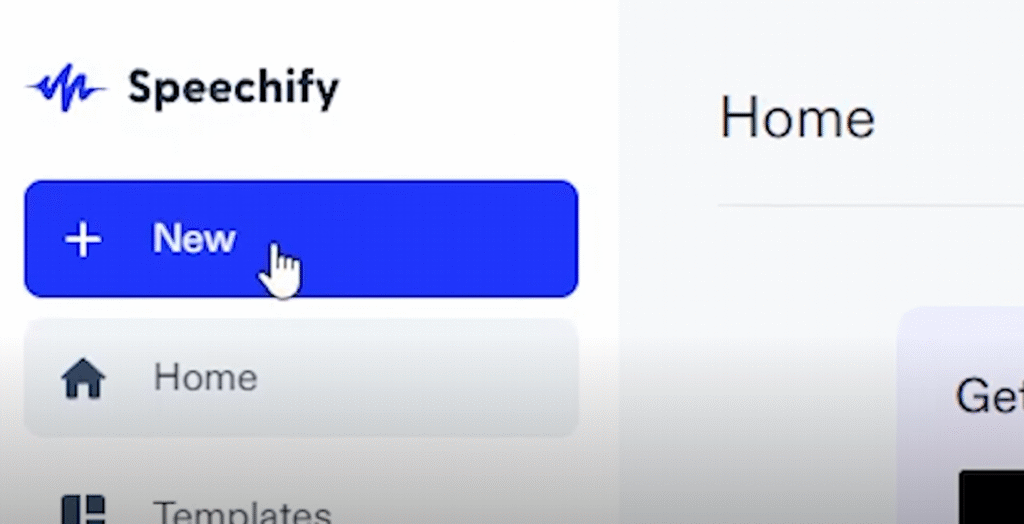
Step 2: Add Your Content
Now that you’re signed in, let’s talk about how to use Speechify to bring in your reading materials. There are several ways to input content:
- Paste text manually: Ideal for quick snippets or notes
- Upload files: PDF, Word, and even image files
- Scan documents: Use your phone camera to convert paper to audio
- Import from links: Copy and paste URLs of articles you want to hear
- Drag and drop: Drop documents directly into the browser interface
Speechify automatically processes these files, even scanned images, thanks to its OCR (Optical Character Recognition) feature. It’s surprisingly accurate—even with handwritten notes.
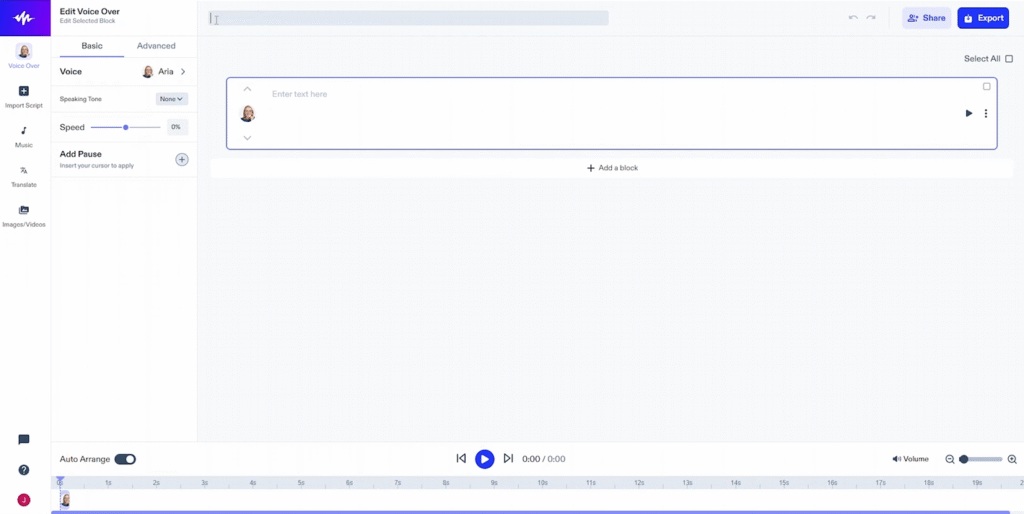
Step 3: How to Use Speechify ’s Customization Features for the Best Listening Experience
A key part of learning how to use Speechify is getting comfortable with its customizations. Here’s what you can tweak:
How to Use Speechify’s Voice Options for a Personalized Experience
- Dozens of AI-generated voices
- Choose from American, British, Australian, and other accents
- Some voices mimic celebrities (with a premium subscription)
Playback Speed
- Speeds range from 100 to 900 words per minute
- Start slow and gradually increase your speed for optimal retention
Highlighting
- Words are highlighted as they’re spoken
- Helps you follow along visually, enhancing focus and comprehension
Theme Settings
- Enable dark mode or adjust font size for accessibility
- Read along with dyslexia-friendly fonts if needed
Each of these features is accessible via the app interface and helps tailor the listening experience to your personal learning style.

Step 4: How to Use Speechify to Sync Content Across All Devices
One huge perk in how to use Speechify effectively is syncing your data. Whether you start reading a document at home on your computer or resume it on your phone during a commute, Speechify ensures everything is saved in the cloud.
You can:
- Download content for offline listening
- Create playlists of documents and links
- Pause on one device and resume on another without losing progress
This is especially useful for students or professionals managing multiple reading assignments across different formats.
Step 5: Maximize Your Usage With Shortcuts and Integrations
Want to take how to use Speechify to a higher level? Use these advanced tricks:
Siri Shortcuts (iOS)
- Add custom voice commands like “Read My Docs”
- Hands-free access while cooking, driving, or walking
Google Drive & Dropbox
- Directly import documents from cloud storage platforms
- Saves time spent downloading and uploading files manually
How to Use Speechify with Notion, Evernote, and Other Productivity Apps
- Use with Notion or Evernote by copying content into the Speechify interface
- Convert newsletters or online articles into speech with the Chrome extension
These integrations make Speechify an essential part of a streamlined productivity toolkit.
Step 6: Free vs. Premium — What Do You Get?
When exploring how to use Speechify, it’s worth knowing what features are gated behind the premium plan.
Free Version Includes:
- Basic voices
- Web/app access
- Limited document length
Premium ($139/year or monthly)
- Access to all premium voices
- Faster playback speeds
- Unlimited document uploads
- Offline listening
- Full OCR capabilities
- Natural-sounding celebrity voices
If you’re using Speechify daily—for school, work, or just absorbing content on the go—the premium plan is often worth the price.
Step 7: How To Fix Speechify’s Errors
Occasionally, users hit bumps. Here’s how to solve the most common problems:
- Voice not loading: Refresh the app or browser; check your internet connection
- Documents not uploading: Make sure file types are supported (PDF, DOCX, etc.)
- Sync issues: Log out and back in on all devices to force a refresh
Speechify’s help center is packed with resources and live support to get you back on track fast.
Step 8: Use Cases That Work
Understanding how to use Speechify gets more exciting when you realize how versatile it is:
Students
- Listen to textbook chapters while walking
- Proofread essays by hearing them read back
- Speed-review lecture notes before exams
Professionals
- Convert long reports or whitepapers into spoken content
- Listen to meeting transcripts on the go
- Catch grammar issues in presentations
Language Learners
- Improve pronunciation by hearing native speech
- Follow along visually to enhance vocabulary retention
Writers & Editors
- Listen for awkward phrasing
- Hear sentence flow and tone more clearly
Speechify adapts to how you prefer to consume content.
FAQs
1. How to use Speechify and is it free to use?
Yes, Speechify offers a free version that includes basic functionality like limited voices and standard reading speeds. For more advanced features like premium voices, offline access, and OCR scanning, a premium subscription is required.
2. How to Use Speechify Offline: What You Need to Know?
Offline listening is available with the premium plan. Once downloaded, you can access your content without needing an internet connection — perfect for flights, commutes, or low-connectivity areas.
3. What file types are supported?
You can upload and convert a wide range of files including PDFs, DOCX, TXT, and image files. Speechify also uses OCR technology to read scanned documents and photos with text.
4. Are the voices customizable?
Yes, the app offers a wide variety of voices in different accents and tones. You can adjust voice style, language, and reading speed to create a more comfortable listening experience.
5. Is learning how to use Speechify helpful for people with learning differences?
Absolutely. Many users with dyslexia, ADHD, or other learning challenges benefit from using the app to process written material in a more accessible way.
6. Does it work across multiple devices and how to use Speechify?
Yes. Your account syncs across mobile, desktop, and browser extensions. This means you can start listening on one device and continue on another without losing your place.
7. How to Use Speechify to Convert Web Pages into Audio Instantly
Yes. Simply install the browser extension or paste a webpage URL into the app. It will extract the main content and start reading it aloud without distractions like ads or sidebars.
Final Thoughts on our how to use Speechify tutorial
By now, you should feel confident on Speechify’s website across platforms and for various purposes. Whether you’re scanning a printed page, listening to blog posts, or creating your own reading playlists, Speechify turns text into something you can carry in your ears—anywhere, anytime.
It’s more than just a text-to-speech app—it’s a tool that helps you take control of how and when you consume information. Try it out for a few days and see how much it can simplify your life.
Click here for Speechify’s in-depth review or here to find different voice generation tools.


I am sure this paragraph has touched all the internet people, its really really pleasant paragraph on building up new blog.
This article presents clear idea in support of the new visitors of blogging, that genuinely how to do blogging.
It is the best time to make some plans for the future and it is time to be happy.
I have read this post and if I could I want to suggest you few interesting things or suggestions.
Maybe you can write next articles referring to this article.
I wish to read more things about it!
Excellent post. I was checking constantly this blog and I’m impressed!
Extremely useful info specifically the last part 🙂 I care for such info a lot.
I was seeking this certain info for a long time.
Thank you and good luck.
I got this website from my buddy who shared
with me on the topic of this web site and now this time I am browsing
this web page and reading very informative articles here.