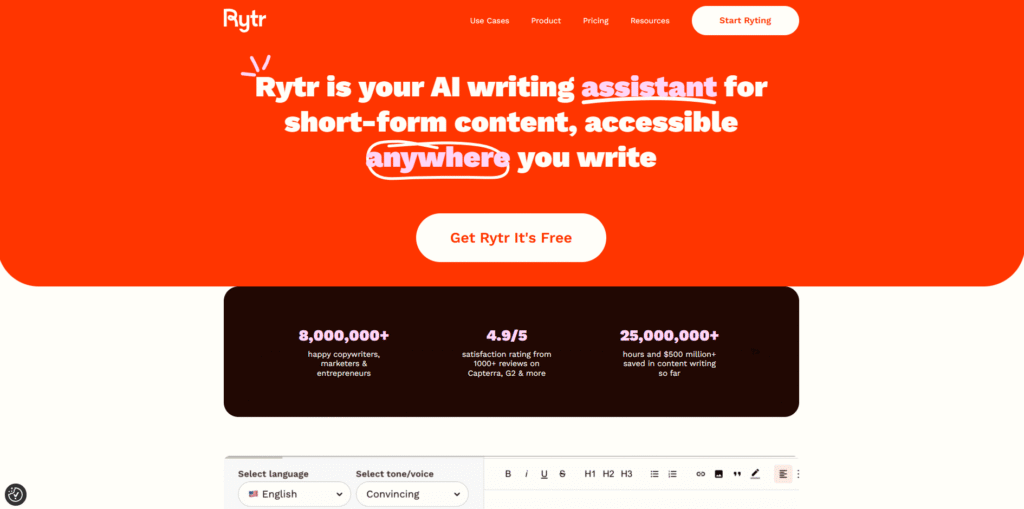
Rytr is an AI-powered writing tool designed to help you create high-quality content quickly and efficiently. Whether you’re writing blog posts, product descriptions, emails, or social media captions, Rytr makes the entire process simple — even for beginners. In this tutorial, we’ll show you how to use Rytr.me:
➡️Visit Rytr.me’s Offical Website⬅️
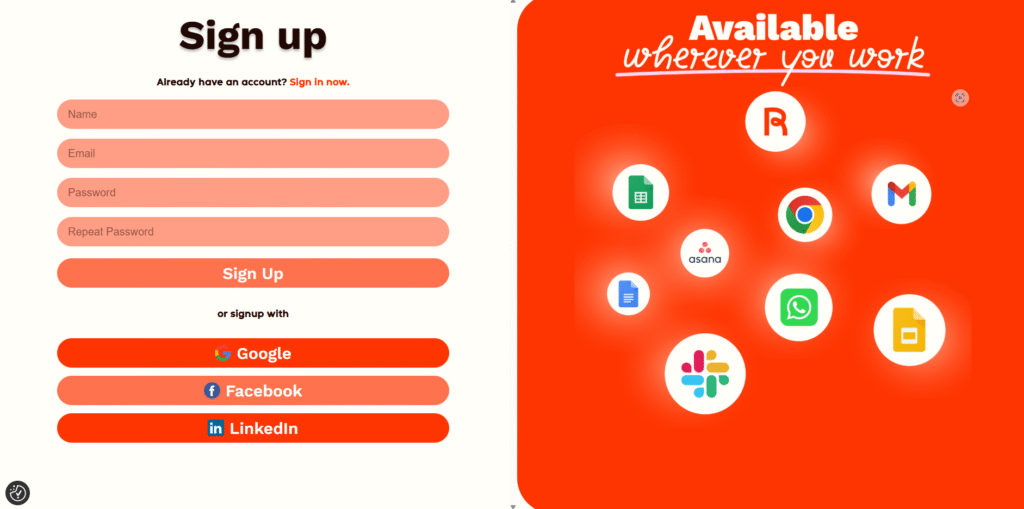
Step 1: Sign Up for Rytr
- Go to the Rytr.me website using your browser.
- Click on the yellow “Start Ryting” button located at the top-right corner of the homepage.
- You can sign up using your Google account or your email address and password.
- Once your account is created, you’ll be directed to the main dashboard, where you can start writing immediately.
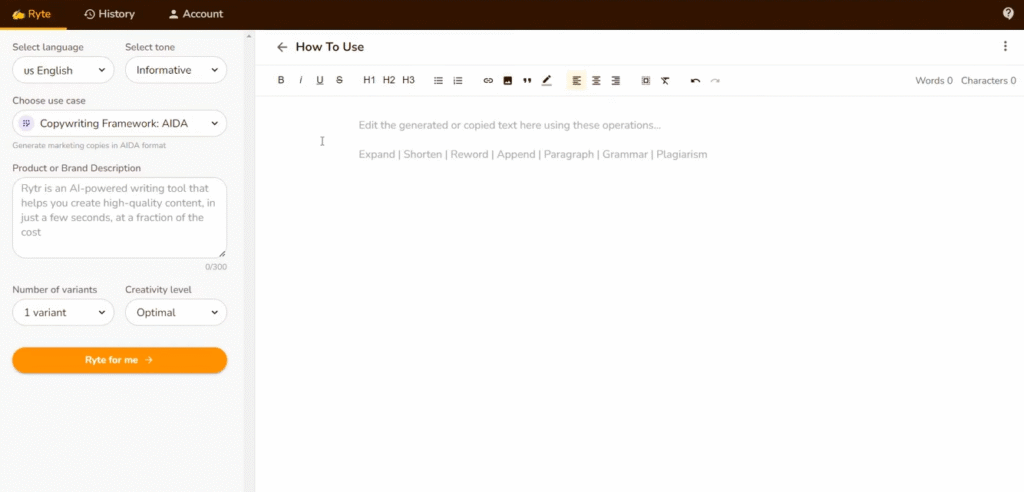
Step 2: Explore the Rytr Dashboard
Rytr’s dashboard is beginner-friendly and easy to navigate. Here’s what you’ll find:
- Language: Select the language you want to write in. Rytr supports over 30 languages.
- Tone: Choose the tone or style of the writing — such as Formal, Casual, Humorous, Convincing, Appreciative, and more.
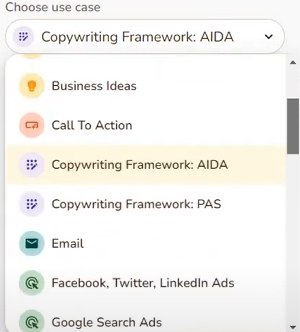
- Use Case: This tells Rytr what kind of content you’re trying to create. Popular use cases include:
- Blog Idea & Outline
- Blog Section Writing
- Facebook Ads
- Product Description
- Story Writing
- Business Idea Pitch
All of these settings are found in the left-hand panel of the dashboard.
Step 3: Select the Use Case (e.g., Blog Writing)
To start writing an article:
- Under the Use Case dropdown menu, choose “Blog Idea & Outline”.
- In the “Primary Keyword or Topic” field, enter your main blog topic. For example: “How to build a home gym”.
- Adjust the number of output variants (choose between 1–3 to get multiple versions).
- Select a creativity level:
- Low: More structured and fact-based.
- Optimal: Balanced for most content types.
- High or Max: More imaginative and creative writing.
- Click the “Ryte for me” button.
Rytr will generate a blog title and a structured outline with bullet points or subheadings.
Step 4: How to use Rytr.me to expand Your Blog Post
With your outline in place, you can now expand it into a full article:
- Click on one of the bullet points or subheadings.
- Right-click it and select “Continue Ryting”, or click the paragraph icon above the editor.
- Rytr will then generate a paragraph based on that heading.
- Repeat this process for each outline point until your article is fully written.
You can even mix in the “Blog Section Writing” use case if you want to write content for specific subheadings independently.
Step 5: Fine-Tune and Edit Your Content
Rytr offers editing tools to polish your writing. Simply highlight any sentence or paragraph, and choose from these options:
- Rephrase: Rewrites the selected text in a different way.
- Expand: Makes the text longer by adding more details.
- Shorten: Makes the content more concise.
- Append: Adds more content after the selected text.
- Improve: Enhances grammar, tone, and readability.
These tools are helpful for customizing the AI-generated text and making it sound more like your voice.
Step 6: How To Use Rytr.me to Save or Export Your Content
Once you’re satisfied with your article, you can save or copy the content:
- Click the three dots at the top-right corner of the editor.
- Select Download to save the file as a
.docxdocument. - Or choose Copy All to paste it into your blog editor, Google Docs, or WordPress.
Your writing is also automatically saved in the “History” section on the left menu, so you can return to it anytime.
💡 Tips to Get the Best Out of Rytr
- Always use specific and clear keywords when writing prompts.
Example: Instead of typing “fitness”, use “how to lose weight at home without equipment”. - Combine use cases for better results.
Start with Blog Idea & Outline, then use Blog Section Writing to add detailed paragraphs under each subheading. - Use different tones depending on your audience.
A “Friendly” tone works well for blogs, while “Formal” might be better for professional articles. - Keep experimenting with creativity levels to see what tone and style suits your brand voice best.
How Rytr.me Actually Works
Understanding how to use Rytr.me gets easier when you know a bit about how it works behind the curtain. Rytr isn’t just magic — it’s powered by advanced language models trained on massive datasets.
Powered by AI, Trained on Real Content
Rytr uses a machine learning model (like OpenAI’s GPT) that has read and analyzed billions of words — blog posts, ads, product listings, and more. This allows it to understand language patterns, tone, and structure.
When you enter a topic and choose a use case, Rytr doesn’t just “copy and paste” from the internet. It predicts what comes next based on patterns and structures it’s learned — meaning the content is original and context-aware.
Why the Tone and Use Case Matter (How to use Rytr.me)
The tone you select (like “Convincing” or “Friendly”) tells the AI how to frame its writing — similar to how you’d change your tone when texting a friend vs. emailing your boss.
The use case is like a writing blueprint. It gives Rytr specific instructions — whether it’s writing a headline, expanding a paragraph, or crafting a product description.
Real-Time Writing, Not Pre-Written Templates
Unlike basic content generators that rely on templates, Rytr creates new text every time. That’s why each output is slightly different, even with the same input — which gives you flexibility and variation.
What Else Can You Do with Rytr?
Rytr isn’t just for blog posts — it’s a versatile tool for many types of content creation. Here are a few quick examples:
- Product Descriptions: Perfect for eCommerce. Just enter your product details and Rytr will generate catchy descriptions for websites like Amazon or Shopify.
- Emails: Use the “Email” use case to write professional or marketing emails in seconds. Just describe the purpose and choose your tone.
- Social Media Posts: Create captions, ad copy, or hashtags for platforms like Instagram, Facebook, or LinkedIn — ideal for digital marketers.
- Website Copy: Need a catchy tagline or a strong call-to-action? Rytr can help with headlines, landing pages, and meta descriptions too.
- Creative Writing: Use Rytr to brainstorm story ideas, plot twists, or dialogues for short stories or fiction.
It’s a great all-in-one AI assistant, whether you’re a blogger, business owner, or creative writer.
💰 How to use Rytr.me pricing plans:
Rytr offers two main plans:
- Free Plan:
- 10,000 characters/month
- Access to all tools and features
- Great for casual or occasional users
- Premium Plan:
- Unlimited characters/month
- Priority access to new features
- Ideal for bloggers, marketers, and content creators who write regularly
You can upgrade at any time if you need more writing capacity or are managing multiple content projects.
How to Use Rytr.me for Social Media Content Creation
Rytr makes creating social media content quick and effortless. Start by selecting the “Social Media Post” use case from the left panel. Choose your desired tone—like Excited, Witty, or Casual—depending on your brand’s voice. Enter a short description of what you want to say (e.g., “Promoting a new eco-friendly water bottle”) and let Rytr generate captions, hashtags, or promotional copy. You can tweak the creativity level to match the platform—higher for Instagram, lower for LinkedIn. Use editing tools like Rephrase or Shorten to tailor the text perfectly for different social platforms.

❓ Frequently Asked Questions (FAQs)
Q1: Can I write a full blog post using Rytr?
Yes. Rytr allows you to generate a blog outline and then expand each section into full paragraphs using the “Continue Ryting” or “Blog Section Writing” features.
Q2: Is Rytr good for SEO content?
Partially. While Rytr can generate high-quality content, you should still do your own keyword research and optimize headings, meta descriptions, and internal linking manually for the best SEO results.
Q3: How many languages does Rytr support?
Rytr supports over 30+ languages, including English, Spanish, German, French, Hindi, and more.
➡️Click here to discover different AI writing tools⬅️