
AI writing tools are revolutionizing the way content is created—especially for bloggers looking to scale up their output without sacrificing quality. Writesonic stands out as one of the most versatile platforms for generating SEO-optimized blog posts quickly and efficiently. Whether you’re a content marketer, a solopreneur, or a niche blogger, this tutorial will walk you through exactly how to use Writesonic to publish high-quality blog content that ranks.
Let’s dive into this step-by-step guide on using Writesonic for SEO blogging.
Step 1: Sign Up and Choose Your Use Case
➡️Visit the Official Website⬅️
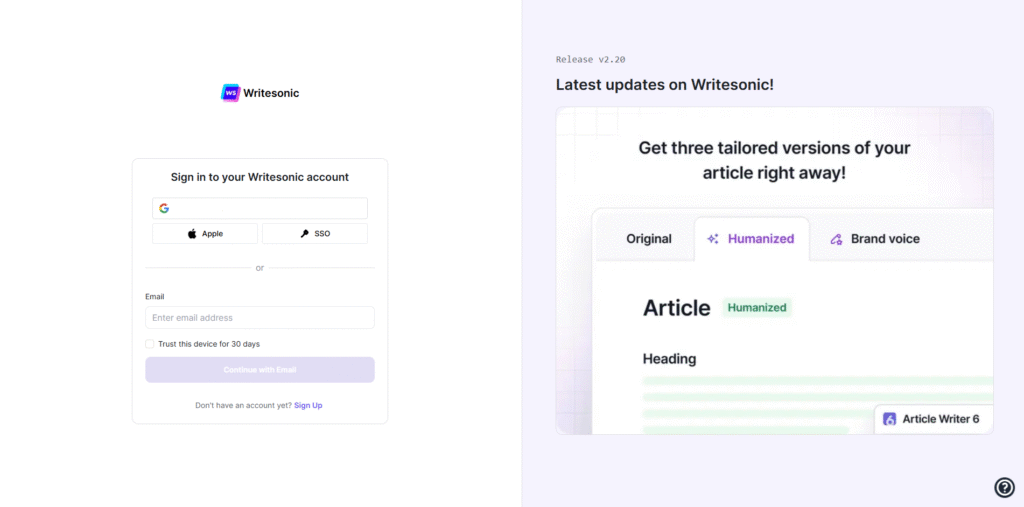
First things first—head over to Writesonic and create your free account. You’ll get access to a limited number of credits with the free plan, but for regular blogging, the Long-form plan is highly recommended.
Once inside your dashboard, Writesonic will ask you to select your intended use. Choose “Blogging” or “Long-form writing” to access the tools that matter most for blog content creation.
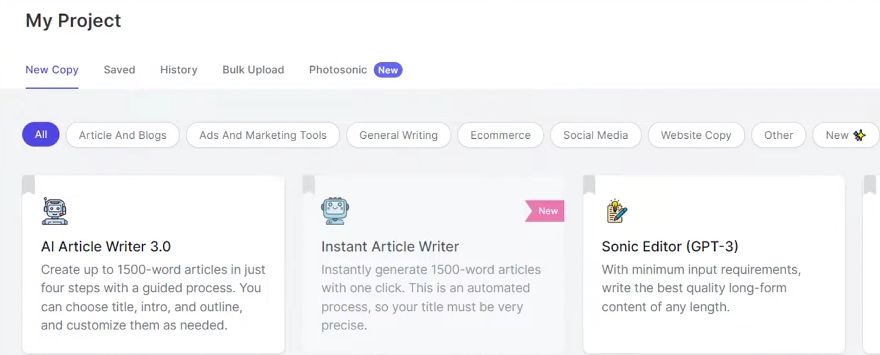
Step 2: Use the AI Article Writer 5.0 or Sonic Editor
Writesonic offers multiple ways to generate long-form content, but for a full blog post, go with either:
- AI Article Writer 5.0 (newest, structured generation flow)
- Sonic Editor (like a Google Docs + AI hybrid)
We’ll walk through the AI Article Writer 5.0 here, as it’s ideal for creating SEO-optimized posts from scratch.
Step 3: Enter Your Blog Topic
You’ll be prompted to input a blog topic or title. This is the most crucial part from an SEO perspective.
Best Practices:
- Use a focus keyword (e.g., how to start a podcast)
- Make sure the topic matches user search intent
- Keep it concise and specific
✅ Example: “How to Start a Podcast in 2025: A Step-by-Step Beginner’s Guide”
Click “Generate Ideas” and choose from the titles Writesonic suggests—or stick with your original if it’s keyword-optimized.

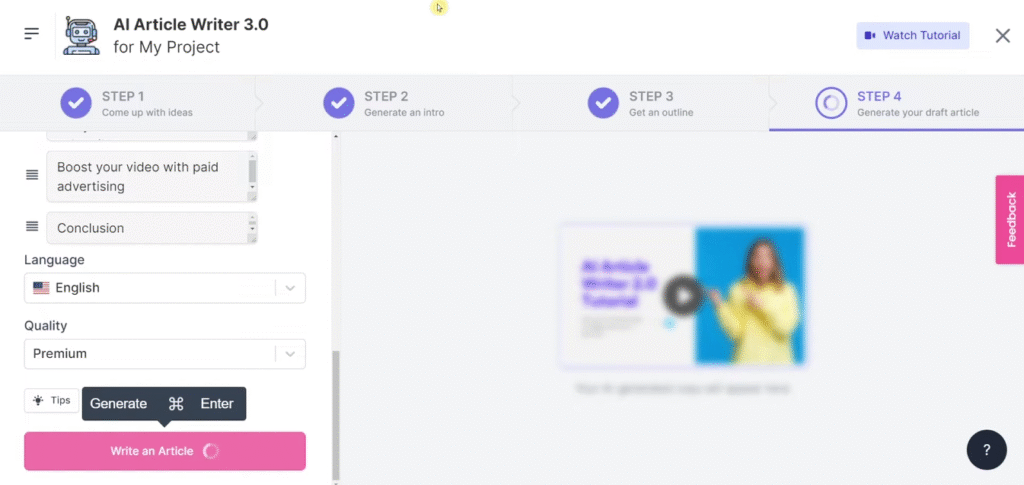
Step 4: Generate an SEO-Friendly Outline
Next, Writesonic will generate a blog post outline based on the topic. You can edit this structure to match what your audience expects.
How to use Writesonic – Tips for SEO Optimization:
- Include H2 subheadings that reflect long-tail keyword variations
- Make sure your headings align with what readers are searching (e.g., Equipment needed, How to record, How to publish)
Once satisfied, hit “Next” to proceed.
Step 5: Add an Intro and Key Points
The tool will generate an intro paragraph and ask for key talking points.
- The intro should include your main keyword within the first 100 words.
- The key points serve as input for the body of the article. These can be generated automatically or entered manually.
✅ Example talking points for a blog about podcasting:
- Choose a niche and format
- Get the right equipment
- Record and edit episodes
- Publish and promote
Writesonic will use these to structure the content logically.
Step 6: Generate the Full Blog Post
After submitting your outline and key points, Writesonic will generate a complete draft.
What to Do Next:
- Read the output and check for tone, accuracy, and flow
- Edit any sections that feel generic or unclear
- Make sure your keywords appear naturally throughout the post
- Add internal links to related posts (important for SEO)
You can also export the content to the Sonic Editor if you want to polish it further using AI-assisted commands like:
- “Rewrite this paragraph”
- “Expand this section”
- “Make this more engaging”
Step 7: Enhance with Media (Optional but Recommended)
To make your blog post more engaging and SEO-friendly:
- Add relevant images (infographics, product screenshots, step-by-step visuals)
- Use descriptive alt text with your target keywords
- Embed videos or social media content if relevant
This boosts dwell time, engagement, and search rankings.
Step 8: Run an SEO Check Before Publishing
Before you publish, consider running your draft through an SEO content optimizer like:
- Surfer SEO
- Frase.io
- NeuronWriter
These tools will suggest:
- Keyword density improvements
- Additional headings or semantic phrases
- Missing LSI keywords
Even without third-party tools, manually check:
- Keyword in title and first 100 words
- At least one internal and external link
- Optimized headings and meta description
Step 9: Export or Copy Your Content
Once your content is finalized, Writesonic allows you to:
- Copy text to clipboard
- Export as a Google Doc
- Download as a .txt or .docx file
You can then publish it on your blog platform (e.g., WordPress, Webflow, Ghost) and optimize your meta title, description, and slug.
Bonus Tips for Better Results with Writesonic
- Be specific in your prompts – The more detail you give, the better the output.
- Use the Sonic Editor for mid-article edits – It’s a powerful way to make iterative improvements.
- Combine tools – Use Writesonic’s Meta Description Generator and SEO Title Generator for full optimization.
- Repurpose your blog post – Turn it into a LinkedIn post, Twitter thread, or email newsletter using Writesonic’s social media tools.
How to use Writesonic: Final Thoughts
Using Writesonic for blogging is a game-changer for anyone looking to produce high-quality, SEO-optimized content in a fraction of the time. With just a few prompts and strategic edits, you can generate a polished blog post that’s ready to rank.
Whether you’re managing a niche affiliate blog, content-heavy SaaS site, or any other business, Writesonic’s AI Article Writer 5.0 streamlines the entire process—from idea to publication.
Ready to scale your content? Visit the Offical Website of Writesonic.
Frequently Asked Questions (FAQ)
❓ What is Writesonic used for?
Writesonic is an AI writing tool used to create blog posts, ads, product descriptions, landing pages, and other types of marketing content quickly.
❓ Is Writesonic good for writing blog posts?
Yes, Writesonic is great for blog posts. It offers tools like AI Article Writer and Sonic Editor to generate long-form, SEO-optimized content efficiently.
❓ How do I write a blog post using Writesonic?
To write a blog post with Writesonic, choose the AI Article Writer, enter your topic, generate an outline, add talking points, and let the AI create the draft.
If you’re interested in different tools, click here